More than 8000 parts - only for Volvo!
REALLY NICE WITH
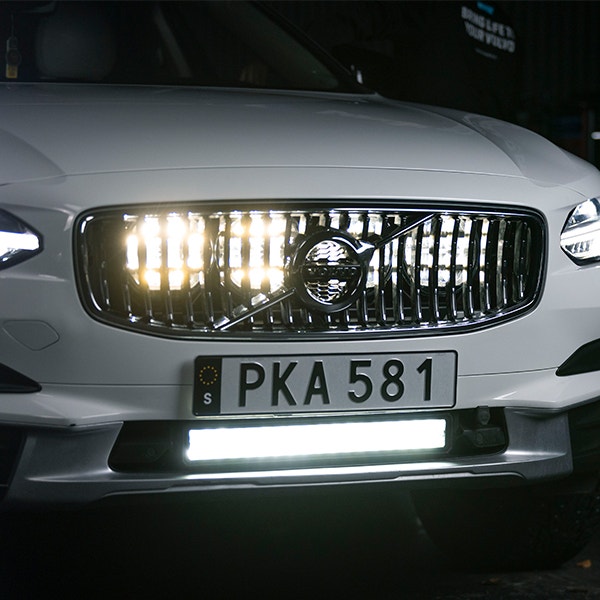
HIDDEN AUXILIARY DRIVING LIGHTS BEHIND THE GRILL
In this guide, we show how to install auxiliary driving lights behind the Grill on Volvo V90/V90CC. Retrofitting auxiliary driving lights has long been popular, and with today's LED technology, you can both maintain the car's original appearance while also providing a good complement to the High beam.
auxiliary driving lights
Light up the darkness with a really good auxiliary driving light, complete with everything you need to install the auxiliary driving light on your Volvo!
How to install the auxiliary driving lights behind the Grill
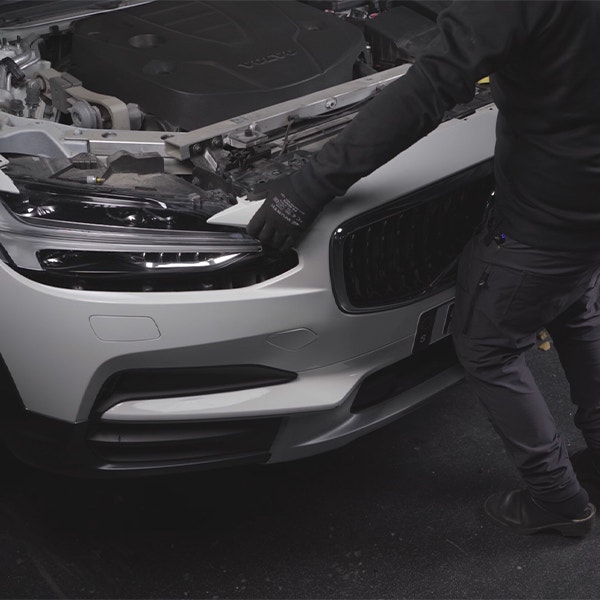
1. Preparation
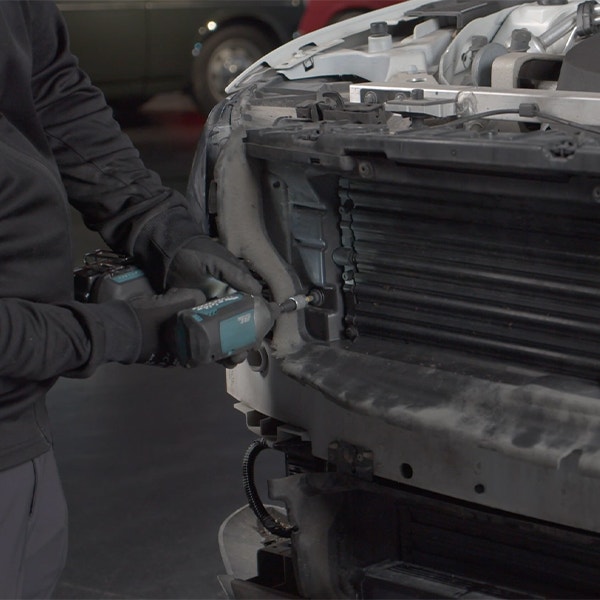
Loosen the bumper by removing the front wheels.
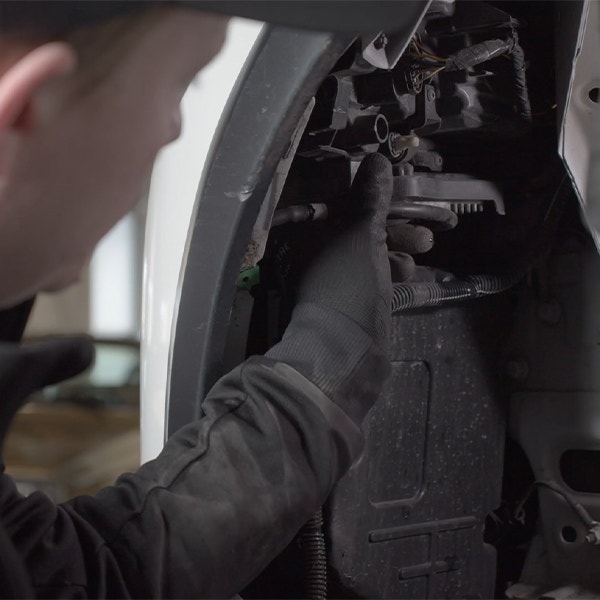
In the Wheel arch, remove two Clips at the top, 8 torx 25 screws at the front edge, and a 10mm plastic nut, then fold the Wheel Arch Liner backwards.
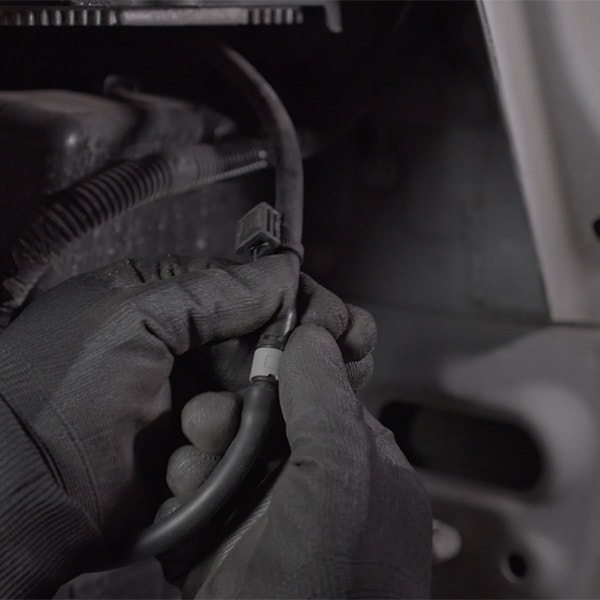
2. Washer hoses
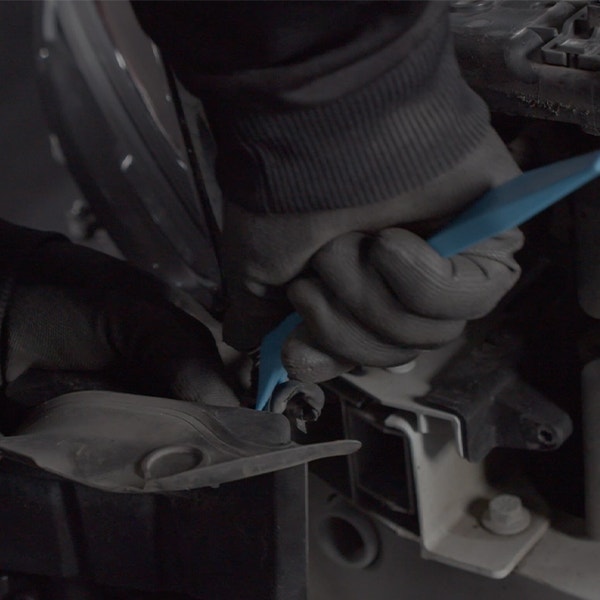
Loosen the washer hoses by pulling the grey cover while pulling the hose.
A tip is to twist and simultaneously pull the grey cover as dirt can hold it in place.
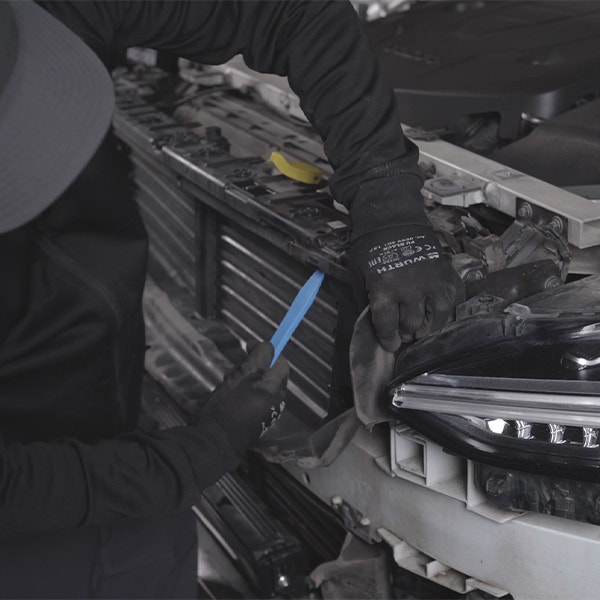
Pull back the grey plastic cover to release the locking.
3. Connector
Disconnect the connector connected to the bumper.
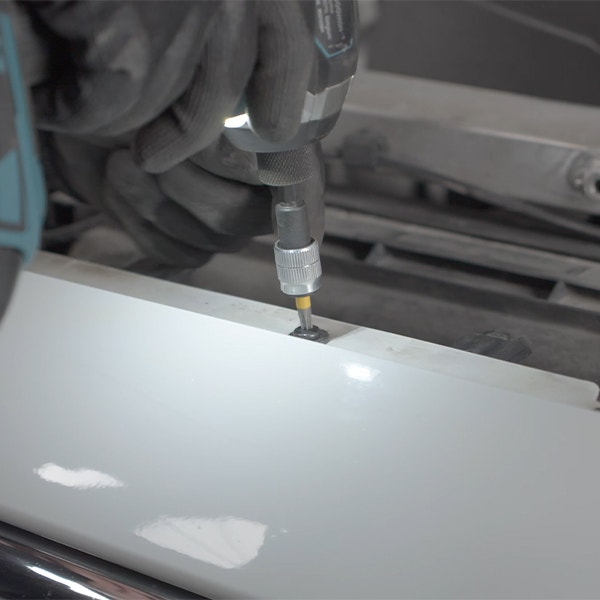
Loosen 2 pcs 8mm screws holding the bumper at the upper outer edge.

4. Repeat
Repeat these steps on the other side.
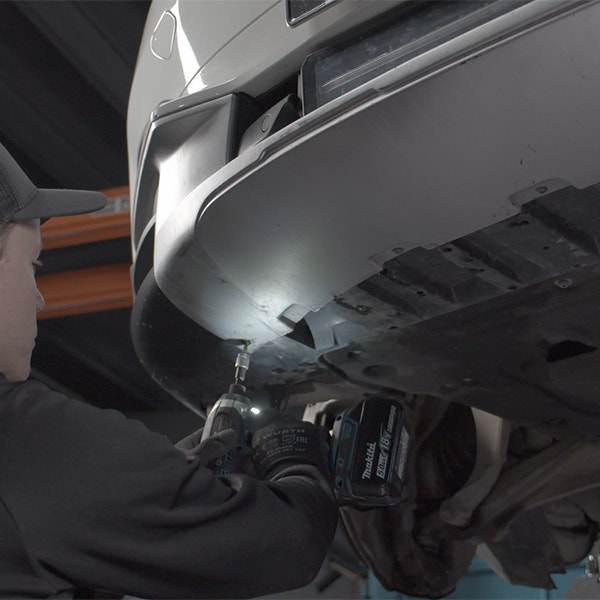
5. Under the bumper
Unscrew the 6 torx 25 screws located under the car at the front.
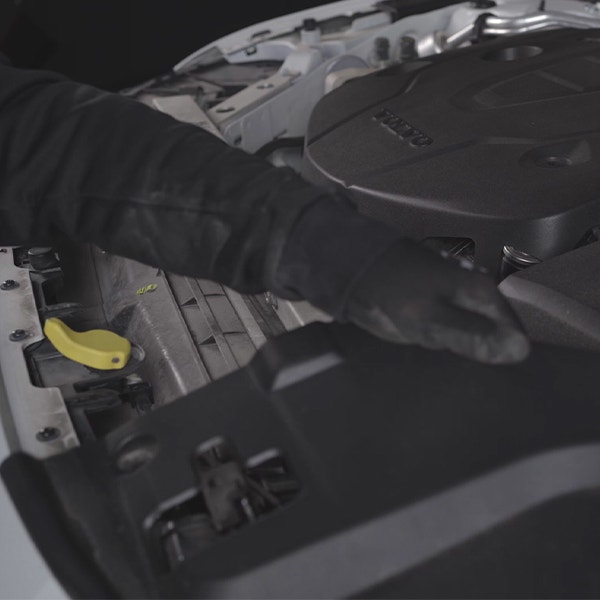
6. In the Engine compartment
Loosen Clips and torx screws at the top of the bumper in the Engine compartment.
Remove the protective plastic and loosen any Engine Heaters sockets.

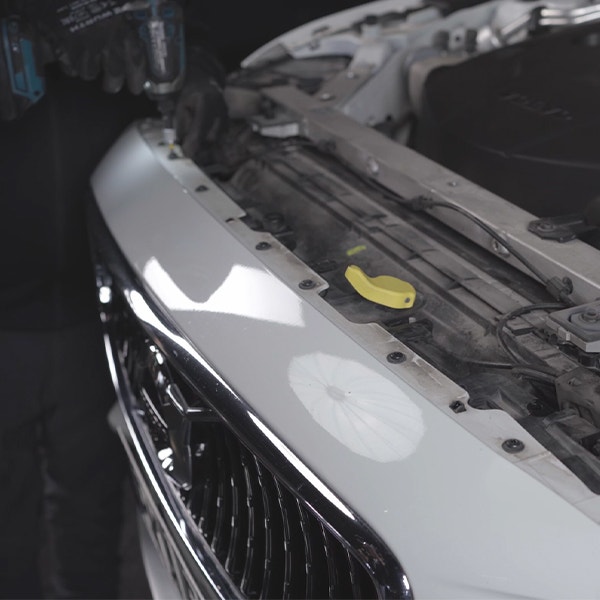
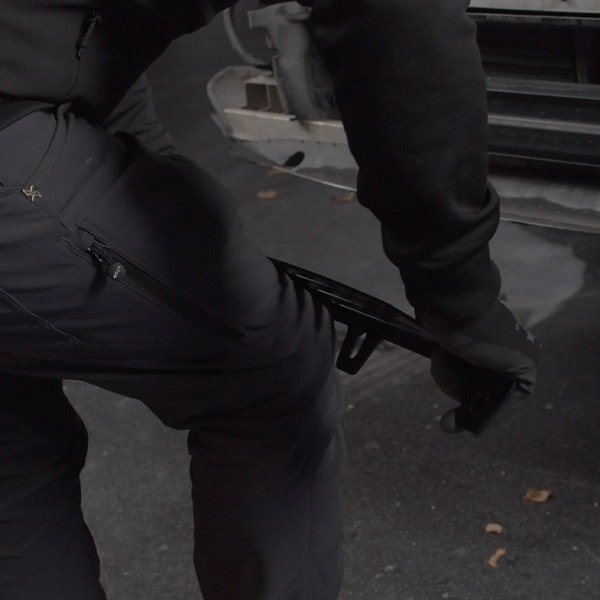
7. Remove the bumper
Lift the bumper from the hooks in the Engine compartment and release the locks at the outer edges.
Then gently pull and lift the bumper off the car.
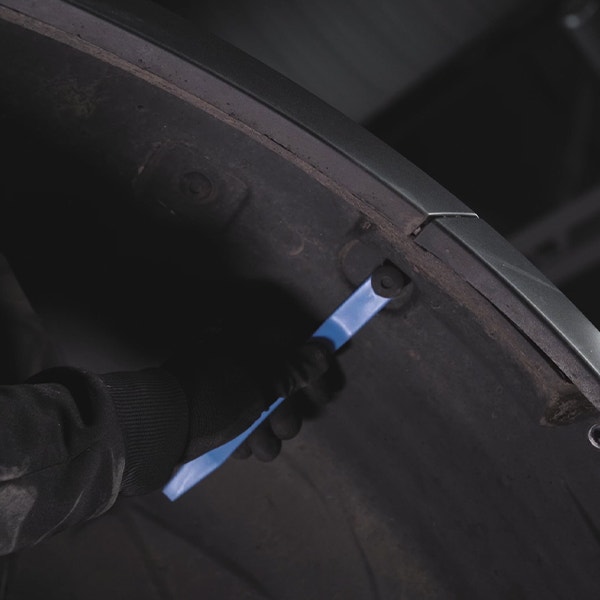
8. Curtain removal
Remove the curtain behind the bumper with torx 30 screws and a push lock.
9. Electric motor Connector
Loosen the connector to the electric motor to create space for the auxiliary driving lights.
10. Mount for auxiliary driving lights
Use a mount for 7-inch auxiliary driving lights and bend it slightly to fit perfectly against the crash beam.
11. Test mount
Test mount an auxiliary driving light on the Mount and hold it against the car.
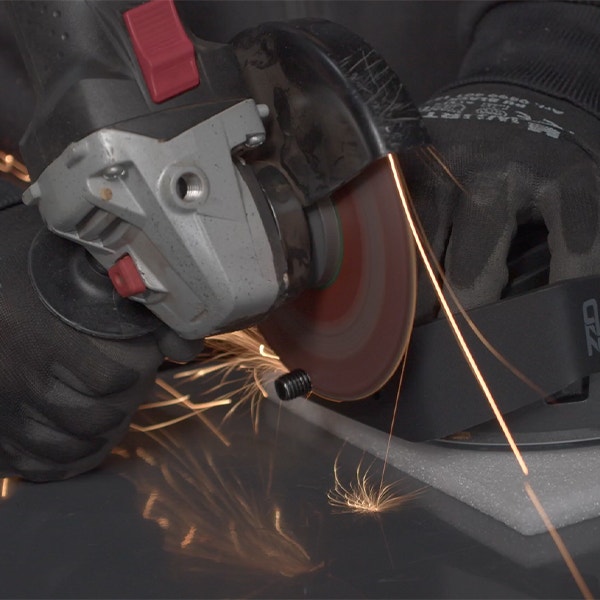
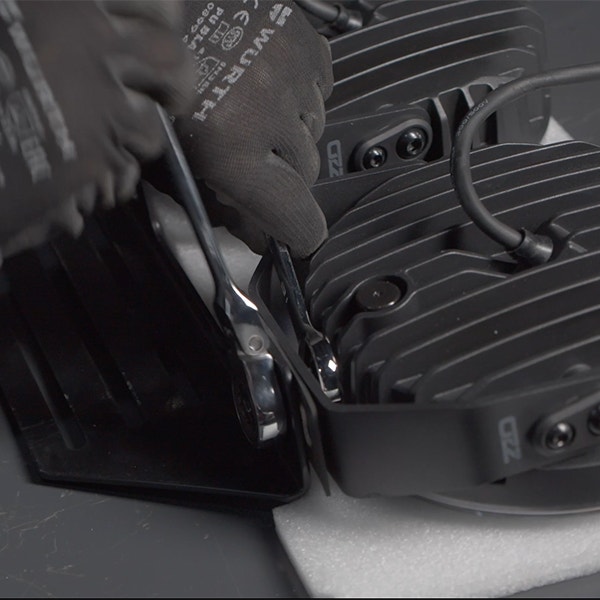
On ours, we needed to cut the bolts for the auxiliary driving lights to fit.
12. Bolt cutting
Cut the bolts if necessary.
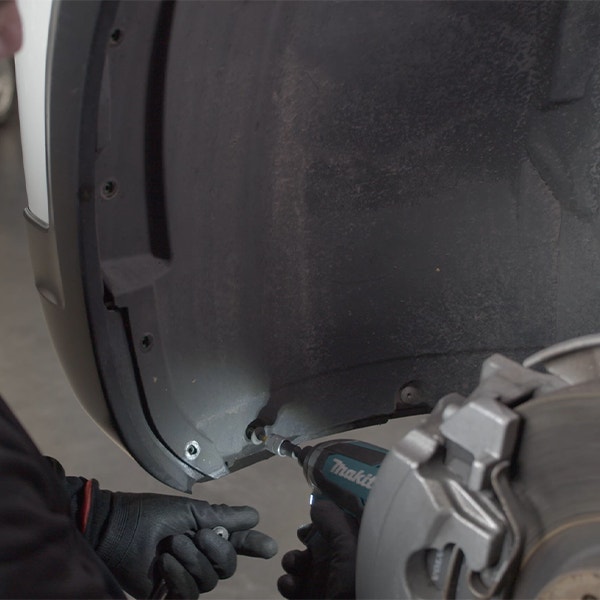
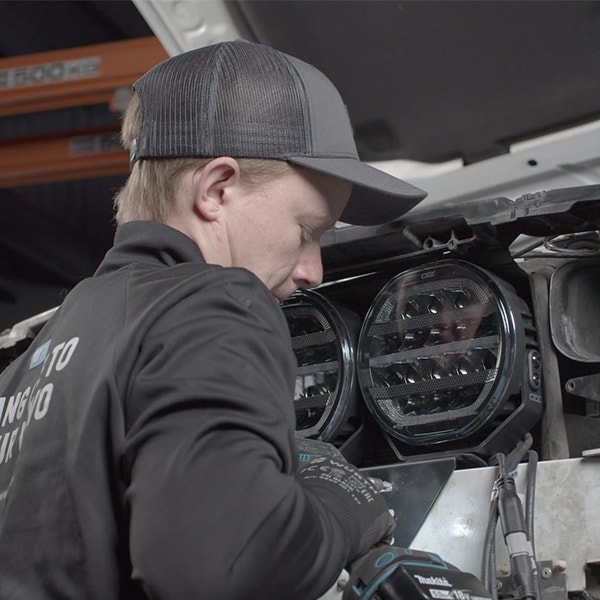
13. Installation of auxiliary driving lights
Attach the auxiliary driving lights to the mount and then install the mount on the car.
We used self-drilling screws with 8mm hex heads.
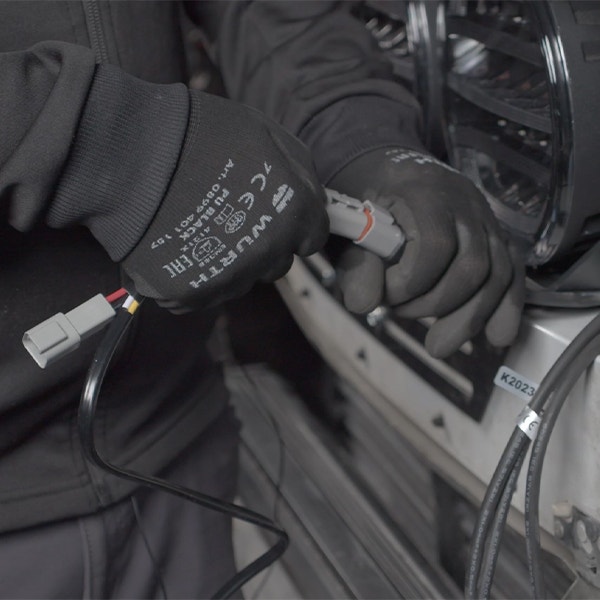
14. Connection of relay wiring harness
Connect
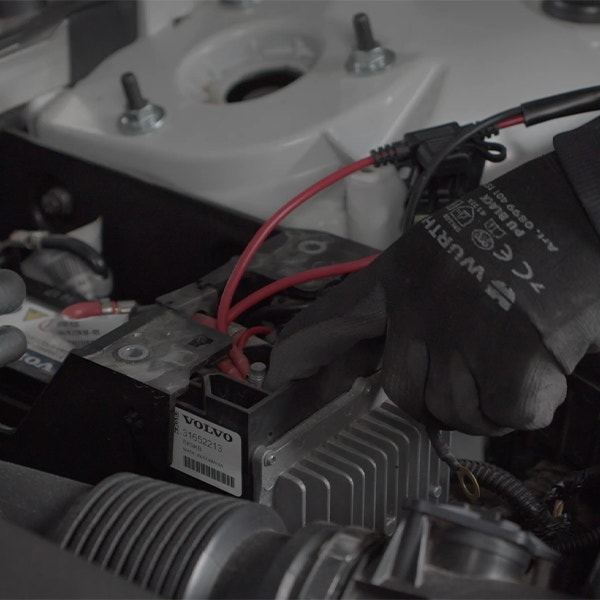
Connect the red cable from the relay wiring harness to the +12v contact.
Connect the black cable to a good grounding point on the Chassis.
Connect the blue cables from the auxiliary driving light wiring harnesses with each other.
Install relays in their Mounts and connect the XBB dongle to the car's OBDII socket and program. (See video here: https://www.youtube.com/watch?v=AN-V_nn2lEA )
15. Test
Test the auxiliary driving lights to ensure everything works as it should.
16. Reinstallation of the Bumper
If everything is in order, reinstall the bumper in reverse order.